
Honeymoon: All About The Northern Lights in Iceland (Part 4/5: OurMagical Experience and Some Photography Tips)
Whenever I read articles or view photos about the Northern Lights, I would often dismiss it off as an impossible dream. Our friends, who had travelled to the other side of the world, told us it's a once in a lifetime experience. In addition to that, there had been a surge of articles that talks about the diminishing Northern Lights by 2017. Therefore, while we were planning for our winter honeymoon in Europe/UK region, Iceland became our Must-Go destination. Keeping our fingers crossed, we hoped to see the Northern lights every single night when we are at Iceland.
Continuing our 2D1N tour with Goecco, we were on our way to our accomodation when the sun started to set. We were not having super high hopes about seeing any lights as the weather conditions were very poor for the past 2 nights. Most of us fell asleep on the long bus ride. Just before we reached our stopover at a gas station, we woke up to a sight of green streaks in the skies. The joy that was exploding from my fellow tour mates were infectious! Everyone was squealing and clapping for being able to witness some green in the skies.


And that's what we have to share!!!
Before we end this trip, here's more amazing photos from the hubby! Thumbs up to his efforts!


Honeymoon: A White Winter In Iceland (Part 1/5: Preparation and Logistics)
Honeymoon: City life In Iceland (Part 2/5: Free and Easy Around Reykjavik City)
Honeymoon: Iceland, National Geographic Heaven (Part 3/5: Waterfalls and Black Sand Beach)
Honeymoon: All About The Northern Lights in Iceland (Part 4/5: Our Magical Experience And Some Photography Tips)
Honeymoon: Glacier Hiking In Iceland (Part 5/5: Breathtaking Jökulsárlón)
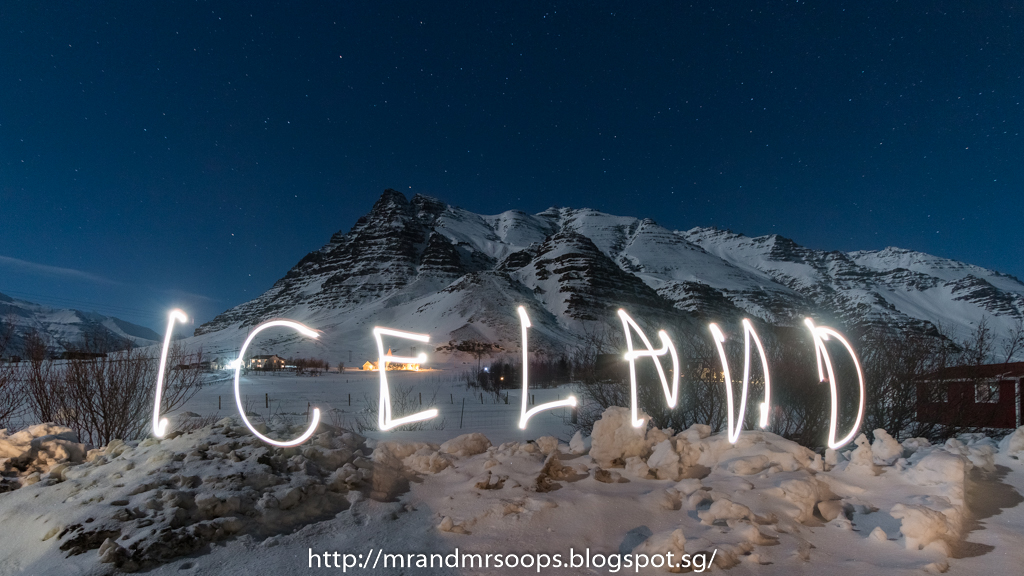 |
| The beautiful skyline from our dormitory arranged by Goecco Light painting by Mrs OOPS Photo by Mr OOPS |
When can you see the Northern Lights?
- Although the Northern lights are in the skies all year around, it is most apparent during winter time (late November to February) due to the short day time and long night time.
- The sky has to be very dark in order for you to spot the lights, which explains why you will need to drive away from the brightly lit city areas to spot the lights.
- Because weather is a crucial factor, do note that you will not be able to spot the lights when the skies are cloudy or when there are heavy snow storms.
- The higher the number of charged electrons colliding into one another in the Earth's magnetic field, the stronger the light source. There is no specific time when you will see it. So just keep your eyes wide open at the skies when it turns dark!
Continuing our 2D1N tour with Goecco, we were on our way to our accomodation when the sun started to set. We were not having super high hopes about seeing any lights as the weather conditions were very poor for the past 2 nights. Most of us fell asleep on the long bus ride. Just before we reached our stopover at a gas station, we woke up to a sight of green streaks in the skies. The joy that was exploding from my fellow tour mates were infectious! Everyone was squealing and clapping for being able to witness some green in the skies.
 |
| Our first glimpse of the Northern Lights |

How do you have a better view of the Northern Lights with your naked eye?
- It's true to say that the lights are sometimes faint to the naked eye. Close your eyes for as long as you can so you could get used to darkness and Voilà there it is~! (Read more about this theory here) P.S. Dont hold me responsible if the lights happen to diminish when you open your eyes! Hahaha!!!
- When you stare into brightly lit electronic devices such as your handphone or camera LCD screen for too long, it reduced your eye's sensitivity to lights in the dark. So either you reduce the brightness of the screen or just put them aside!
 |
| Raining lights. |
 |
| A nice distinct horizontal streak! |
Personal Tips On Photographing the Northern Lights (By Mr OOPS)
- Shoot with a plan in mind! As you will be shooting in near darkness, it is important to know where you want the northern lights to be at in the final image. Decide if you will want to add in a foreground subject such as a mountain, house, rock or car into the picture. Avoid having the moon in your image as the moonlight will lead to overexposure in your shots.
- Use a camera with manual mode available! Set the widest Aperture setting for your lenses. (Example: He sets f/3.5 on his Canon 10-22mm Lens) Camera shutter speed varies from 2 seconds to 20 seconds. A longer shutter speed will help to capture the movement of the Aurora Borealis in the photos.
- Use a tripod! A sturdy tripod is a must to capture good long exposure shots. Use a 2-second countdown timer on your camera to minimise camera shakes.
- Bring extra batteries! Camera battery drain rapidly during cold weather. Remember to bring spares.
- Be patient, keep warm while waiting for the lights! You may be ready with your camera set up but there are no lights in the sky. It will be helpful to have an attire (and many heat packs) that can withstand sub-zero temperature while you wait for the magic to appear once again. ( To capture all these beautiful photos, Mr OOPS camped in the cold for 5 hours, running in and out of our accommodation when it gets too cold.)


How to capture ourselves with the Northern Lights? (By Mr OOPS)
Yes it's getting technical but read on because it will be super helpful!
 |
| 3D illustration of how we capture the Northern lights with us in frame |
- Setting it up: Set the camera to auto-focus with 2-second countdown-timer mode and place it on a tripod. Our camera setting is on manual mode with aperture @ f/3.5, shutter speed @ 2.5 seconds, and ISO @ 2000.
- Shooting in progress: One person (the subject) will stand in position while the other person is in charge of shining the torchlight and pressing the shutter button, which is used to focus and activate the self timer. A torchlight is used so as to let the camera lock focus on the subject. Most cameras cannot focus well in the dark, so the torch is important.
- Get into position: When the camera has focused and the countdown timer is triggered, switch off the torchlight. Subject has to stand very still while waiting for the shoot to be completed. Ta-da!
Here's some of our self portraits!


And that's what we have to share!!!
Before we end this trip, here's more amazing photos from the hubby! Thumbs up to his efforts!


Afterthoughts:
For us, seeing the Northern lights was a huge tick off from our bucket list. Out of all the nights we were in Iceland, this was the only night which we experienced a clear sky and saw great lights! When I saw the lights swaying and dancing around in the vast sky, I could not help but to squeal and clap in joy!! Mother Nature is just so beautiful and inspiring.
If you want some photos for keepsake, it is important to have some skills about photography of northern lights. I tried using my handphone camera and GoPro camera but I only got pitch dark photos. So it is important to have a manual function camera and knowledge on how to use it. Alternatively, just bring along a photography-addict hubby who knows all of the above! =D
We are not saying that our method is the best one. There are many different advices and recommendations by other Northern Light enthusiasts around. The fun of it is to be out in the cold to admire the lights while experimenting on various perspective to capture the lights. We look forward to hear more sharing or discussions from anyone! So do drop us a comment! =D
Note: All photos are credited to Mr and Mrs OOPS. Follow @mrandmrsoops and @djoops on Instagram for more photo works. Not sponsored or affiliated.
With love,
Mr and Mrs OOPS
You may also like the following posts!
I was visited Alaska for viewing northern lights. Visit the most beautiful place of the world to plan an exciting tour.
ReplyDeleteAlaska trips northern lights